90 MINUTE CHALLENGE | AI WEBSITE COURSE
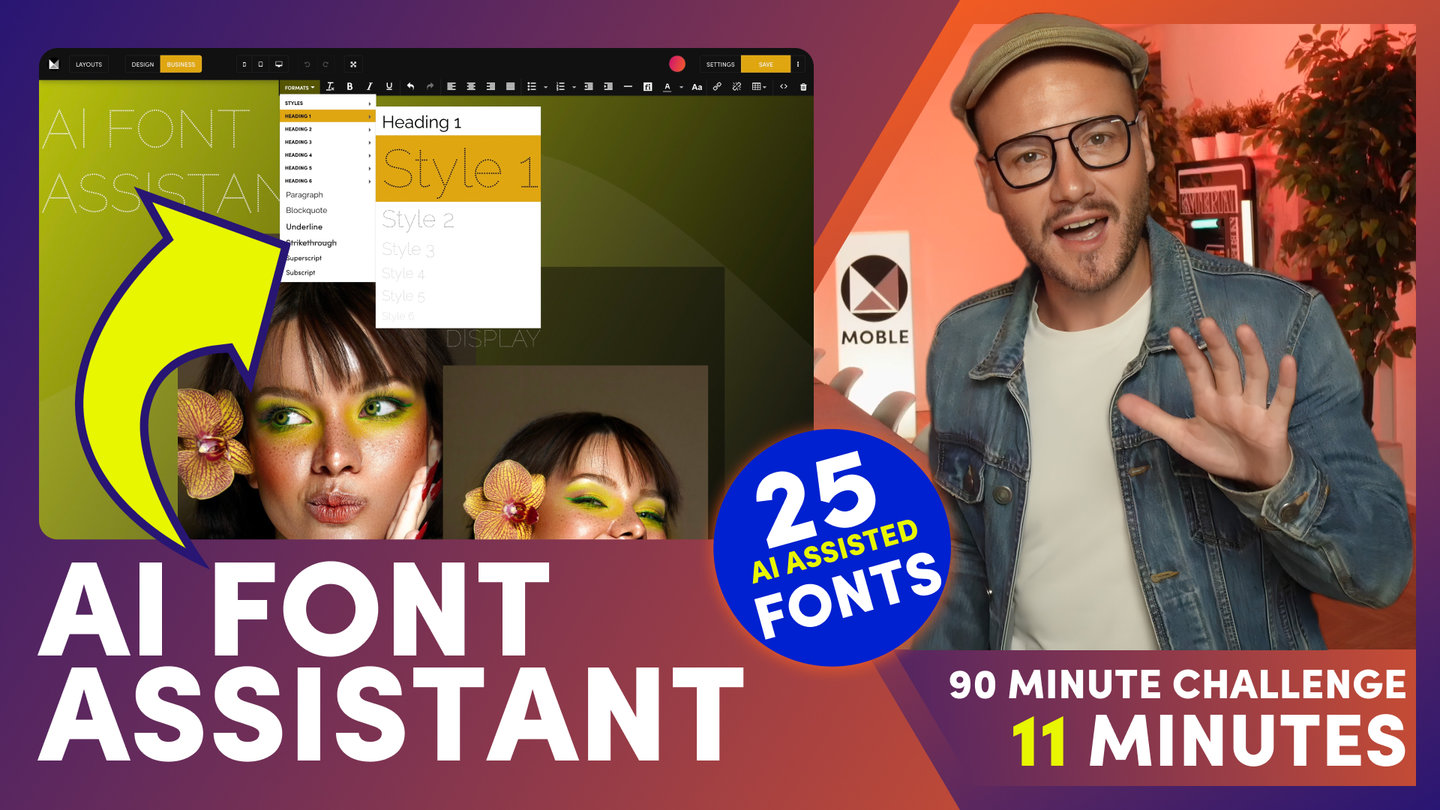
AI FONTS ASSISTANT
FONTS

Paul Davenport | 01:35
1. Create a Font Pairing.
2. Use AI Font Assistant to style Typography.
3. Customise a Palette of 25 Fonts.
We will now use the AI Font Assistant to update your Fonts.
Your task is to create a Font Pairing by selecting two Fonts.
A 'Heading Font', which will be used for your main Headings, and a more poppy loaded 'Display Font'.
Once you’ve selected your pairing, you can use the bot to play around with the line height and also the letter spacing.
For example, I might choose tighter letter spacing and a more loose line height to give it a more contemporary feel.
You can see the bot has automatically updated 25 Fonts with these Styles, and also synced the them around your entire website in a second.
You can preview your Font here.
Then you can make manual tweaks and adjustments.
For example, I might make this Font a little heavier.
Once I press save, all my adjustments are instantly updated and available for my entire team to use.
This is designer heaven. Full custom controls, made quicker with AI.
Over in the editor, notice that lower down the page, I can make this Title a Heading 3, which is correct for SEO, but if I would also like to make it more prominent.
I can keep it as Heading 3 for SEO, and select one of the Display Fonts that is right for my design.
Again, for more help on any of the features, click the Help icon for more details on videos and articles. Or, ask AI Sam, who is waiting to answer any questions.
Course Quick Clips
Play before you Pay?
GETTING AROUND
SUPPORT
AI SALES LINE
AI SUPPORT LINE
GET A QUOTE
A Web Builder for Design. A CMS for Business. We serve all businesses from SME's to Enterprise. Talk with us for AI development, custom website design, website development, ecommerce websites, directories, intranets and social networks.
PRIVACY | WEBSITE TERMS | PLATFORM TERMS | © 2025 MOBLE PTY LTD


