PICK YOUR AI THEME TO GET STARTED

90 MINUTE CHALLENGE | AI WEBSITE COURSE
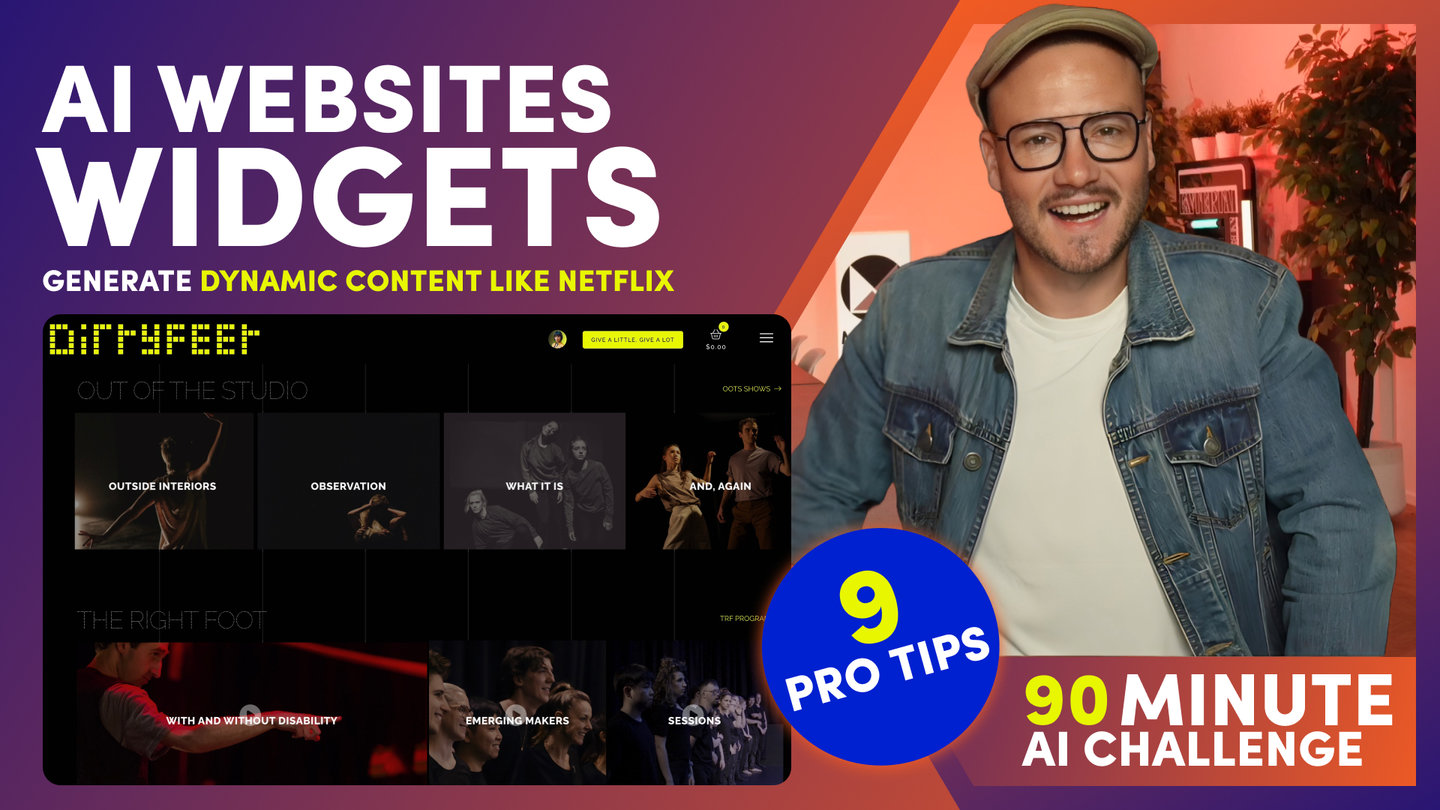
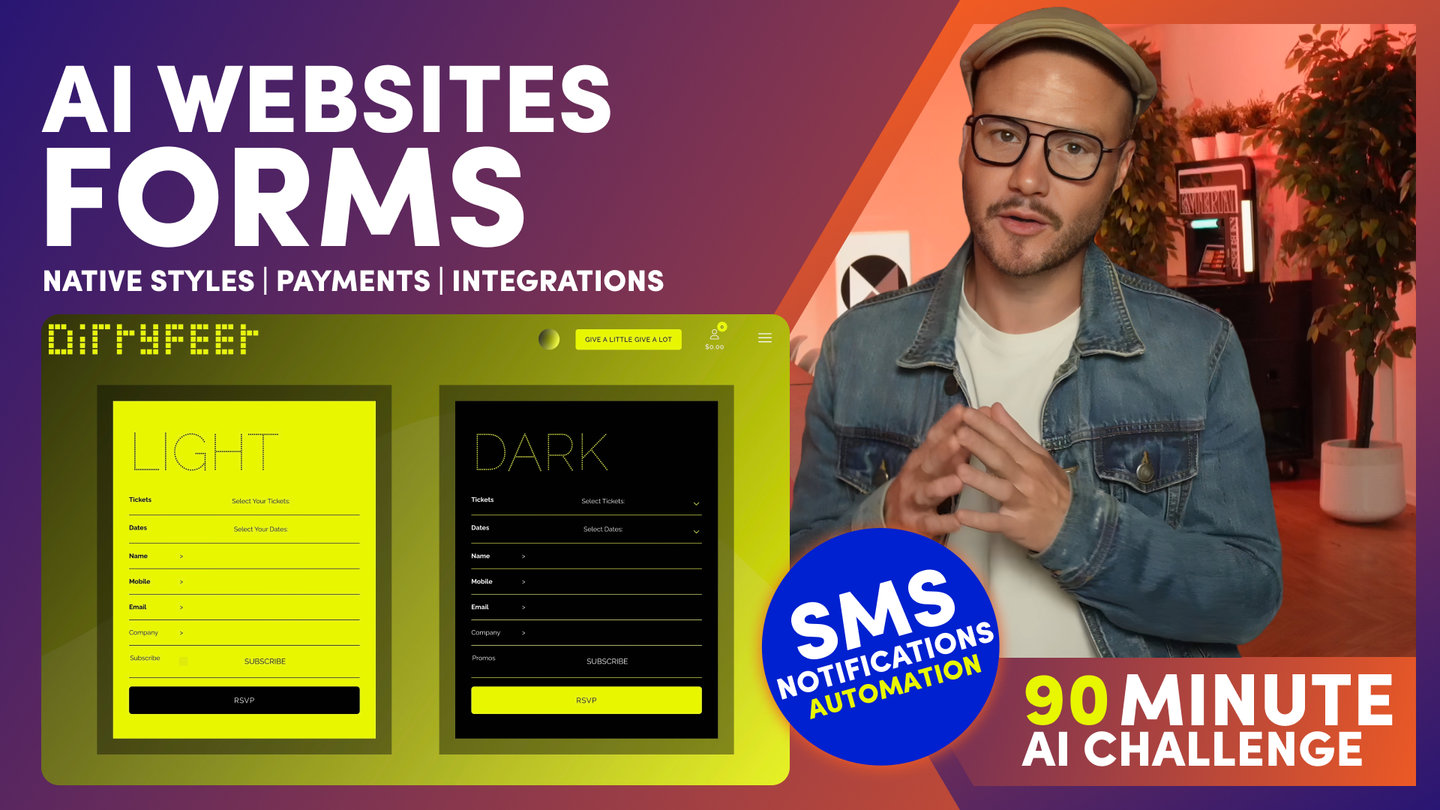
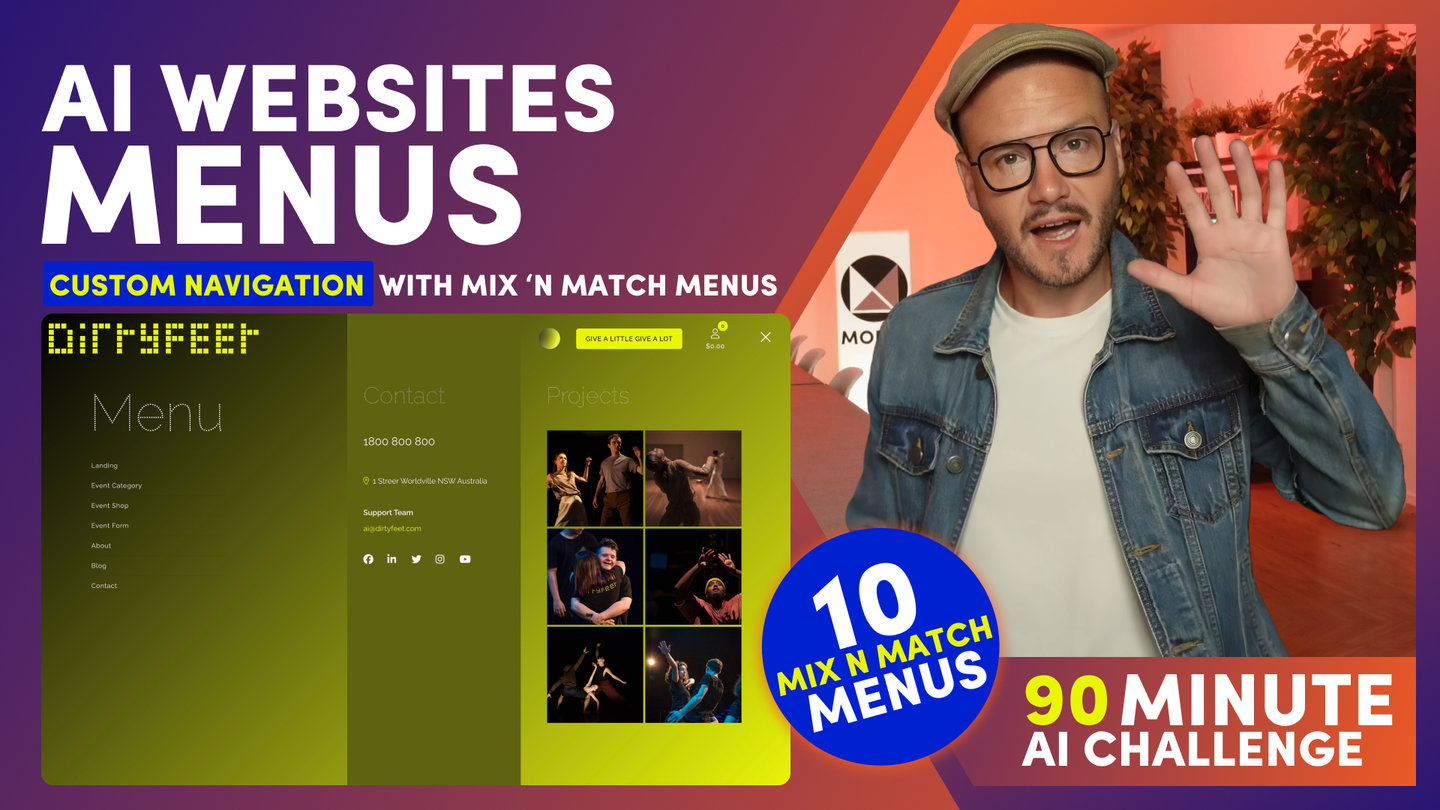
AI WEBSITES
ONLINE SHOPS

Paul Davenport | 07:11
1. Product Page Builder for custom product designs.
2. Hundreds of pre-made Product and Category Layouts.
3. AI Shopbots for product suggestions and order updates.
SHOP
Now let's look at adding Products to your online Shop.
To do this, go to the Ecommerce area.
Here I can search for Products, in the case with the Tag SHOP, and I’ll view in Sort Order.
Ok, we’ll start with first and Most Important lesson,
And that is, there is one big difference between editing Products and Pages.
We edit Products via the Settings Tab, not via the Edit tab to open the Page Editor.
To explain why I am going to open both Edit and Setting.
Here in the Page Editor notice that the text has Curly Brackets to merge content.
It doesn't actually display the content. Notice this one is for 'Summary'.
Well in the Settings area, you can see here 'Summary' and this is merged into the Curly Brackets for Summary in the Editor.
There are 3 advantages for this:
1. It allows content to be loaded quickly by simply completing fields
2. It allows products to be uploaded via a csv file or spreadsheet.
3. It allows you to design your own Product Pages.
I’ll cover designing product pages from scratch in a full Ecommerce session soo, so like and subscribe for that. But, in short, to create Product Pages you can drop blocks onto a page, just like we covered earlier).
So you could create custom pages, say with a Video Background of the Product with Add-to-Cart button on top.
You can design anything with no code.
Then, if you are happy with a Product Page design, you can apply your designs to all Product Pages in one click, with this Toggle here in the Product Page Settings.
You can select many premade Product Page designs here also, and again apply the design to all Product Pages.
Ok, so let's look at some TOP TIPS for adding products.
Complete all the fields for your product.
Can leave a field blank and the labels won’t show on the Product Page.
So simply complete what you need for your product.
'Summary' is more important than Description, as this is the same as 'Summary' appearing in the Dynamic Widget Feed.
Most people just add a Summary and leave Description and Body blank.
Page Icon is also the Image that appears in the Widget.
While Gallery are the images that appear on Gallery on the product Page.
Tabs are for the accordions like Specifications, Instructions, Shipping, Returns and Terms. Some people also like to pop into the editor to change the labels of tabs manually to customise the text size and colour.
If you do this, you only have to do it for one product. Then you can assign your new products page design to all pages - with this Toggle Here.
Options are required if you want customers to select options for different product SKUs.
For example, You can add a Tag for colours. and then Edit The Tag, to give it a colour. And on the front end this will now appear as a colour swatch.
What's really cool is you could also give the Tag an image, to display an image as a swatch, giving you vast possibilities.
You can also make Price Altering Options. For example, 500ml or 1 Liter size options.
So let’s look at this. Currently, I have two options for 'Size' and 'Colour', so it is very important that I create the Variants.
To do this click Generate Variants.
Now, let's say I want to update the price for all 1 Litre Variants.
I can filter '1 Litre”. Put in the Price. 'Check All' and the pricing is updated for all the 1 Litre items in an instant.
Also notice, I can also set up Products for Subscriptions to bill monthly or annually.
When you're done adding a product, always remember to click Save.
And if you're ready to create your Next Product, you can click 'Clone' and all your settings and options will be preserved allowing you to simply change the Title and Summary and Images, which makes adding Products as quick to do here in the UI, as it would be in Excel or Google Sheets.
Over in the Ecommerce Settings tab, I can put in Stripe payment gateway API Key for secure transactions.
I can set email and order notifications for my Admin Team.
I can set email and order notifications that my customer receives from.
I can set up my shipping information. For example the Flat fee, and the price after Shipping becomes Free.
I can set a price for international shipping with the countries that I ship to.
I can set up integrations like with fellow Australian company, and global leader, Shipstation.
Or integrations with my favourite Ecommerce platforms like Klavyio, ActiveCampaign and MailChimp which we currently use for automations like Abandoned Cart, and of course via Automation Platforms like Zapier or Make.
You can check your Orders.
You can see your Stripe transactions and link to Stripe for refunds.
You can even get picking lists to make picking and packing straight easier if you don't have warehouse management or ERP software.
You can choose a Layout, get your Category Page and give your Category Page the correct Tags.
There are two Category Pages with your Theme. You can also clone the one that you prefer for a rapid start.
You can add an AI Shopbot to your category sidebar, or as a Shopbot Agent in your Header to suggest Products to customers, give them discount codes and account credits, or to help customers get updates on their order. This is extremely useful as this is always the highest customer support request, so why not use the Shopbot to handle this enquiry, and at the same time, incentivise the customer with a discount for their next order.
Okay, that’s a sufficient introduction to get your started.
Watch out for our dedicated E-Commerce Video for more. And if you want the MOBLE team to do it for you, click the 'Built For You' button to request a quote. We will soon be passing leads to our certified Agency Partners.
If you want to start your own MOBLE Franchise AI Agency, stay tuned to the end of the Video, where I will show you bonus content on how to sign up for your MOBLE franchise AI Agency.

Course Quick Clips


Play before you Pay?
GETTING AROUND
SUPPORT
AI SALES LINE
AI SUPPORT LINE
ENQUIRIES
team@moble.com.au
GET A QUOTE
A Web Builder for Design. A CMS for Business. We serve all businesses from SME's to Enterprise. Talk with us for AI development, custom website design, website development, ecommerce websites, directories, intranets and social networks.
PRIVACY | WEBSITE TERMS | PLATFORM TERMS | © 2026 MOBLE PTY LTD